
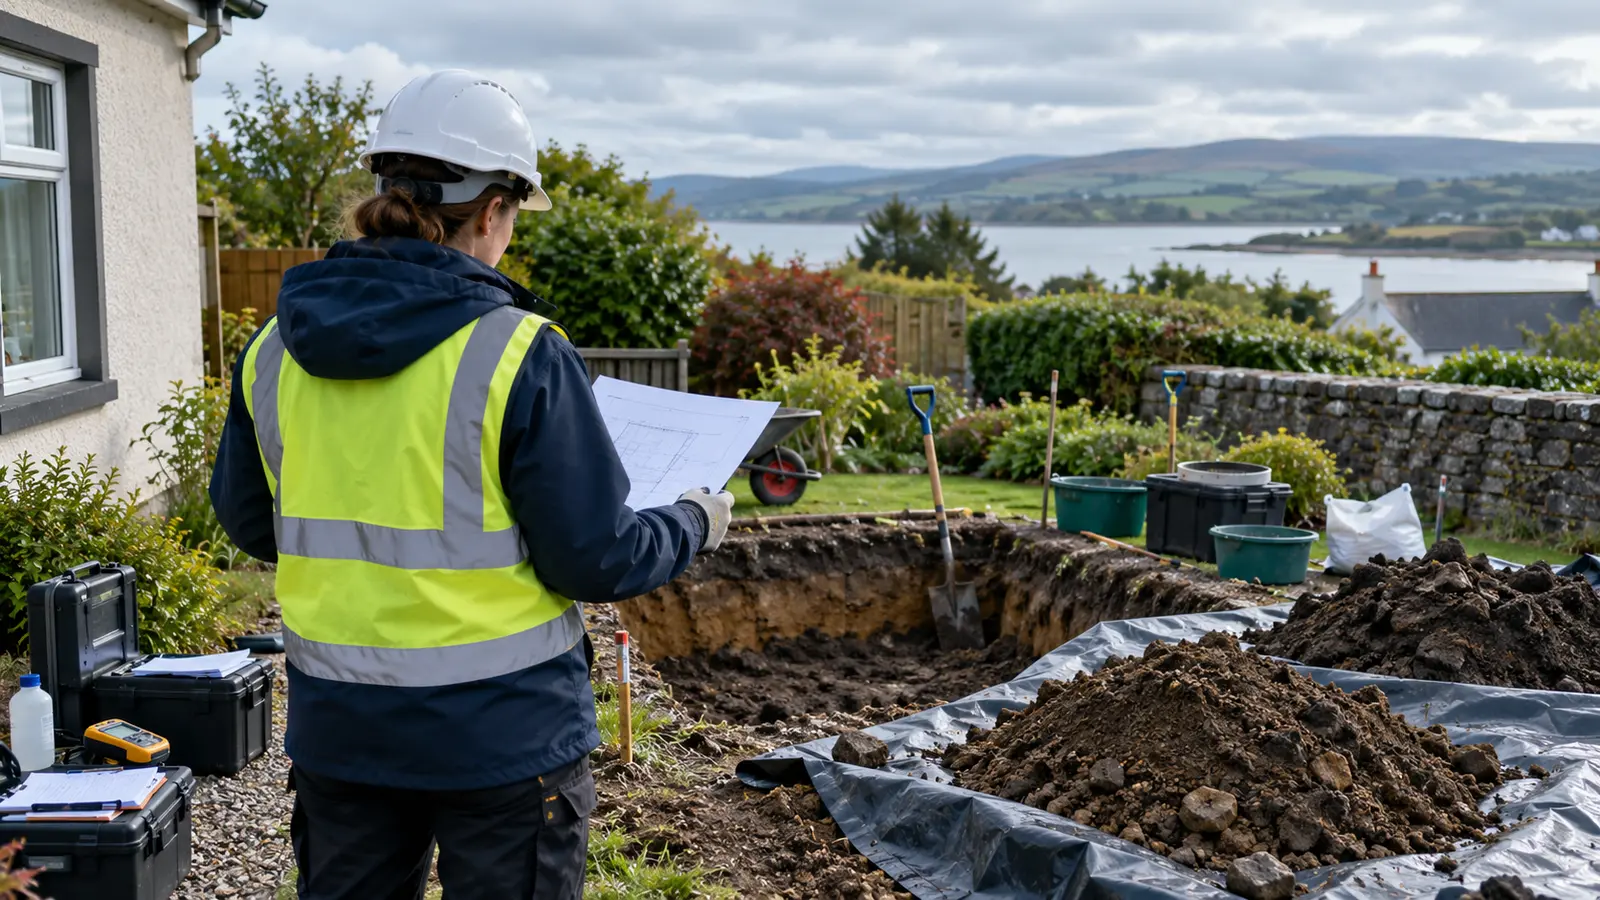

CLEANUP AND REMEDIATION
Effective remediation begins with a clear understanding of the source, pathways, affected media and receptors.
The correct response is investigation-led, not simply excavation-led.
A typical project moves through:
source control -> site assessment -> conceptual site model -> remediation design -> implementation -> validation
The exact sequence will vary from site to site, but each stage should answer a defined question and support the next decision.
Stage One – Control the source and stabilise the situation
Before detailed investigation begins, the immediate priority is to stop the incident from becoming worse.
Where it can be done safely, this may involve:
- stopping or isolating the leaking source;
- preventing further release from the tank or pipework;
- protecting drains and watercourses;
- recovering free product where practicable;
- installing temporary containment;
- using booms or absorbents;
- intercepting oil before it reaches neighbouring land; and
- protecting buildings, groundwater or other sensitive receptors.
If the release has already been stopped and the site is stable, the consultant can move directly into investigation.
If oil is still actively migrating, source control and containment take priority.
Early photographs, records and observations should also be retained because they can become important evidence later in the project.
Stage Two – Build a conceptual understanding of the site
A proper site investigation begins before the environmental consultant arrives at the property.
Start with a desktop assessment
Modern mapping and environmental information systems allow an experienced consultant to develop an initial understanding of the site using a computer, tablet or phone.
Before attending, they may review:
- aerial and satellite imagery;
- topographic mapping;
- geological maps;
- superficial deposits;
- aquifer and groundwater information;
- groundwater vulnerability;
- environmental GIS datasets;
- nearby rivers, streams, ditches and ponds;
- drainage information where available;
- surrounding land uses;
- neighbouring properties;
- historic land use; and
- other potential environmental receptors.
The purpose is to arrive with an informed view of the site rather than starting blind.
This forms the beginning of the conceptual site model.
The conceptual site model
The conceptual site model is based on the same source-pathway-receptor principle used throughout contaminated-land assessment.
The consultant is trying to establish:
- Source – where the contamination is and what form it takes;
- Pathway – how the contamination can move or how exposure can occur; and
- Receptor – who or what could be affected.
For example:
Source: heating oil in soil beneath a garden
Pathway: migration through permeable ground
Receptor: groundwater
Or:
Source: contaminated soil beside a foundation
Pathway: vapour migration through floor voids and cracks
Receptor: occupants of the house
The conceptual site model is not fixed. It should be updated as investigation results become available.
The fundamental principle behind remediation is that an unacceptable pollutant linkage must be removed, interrupted or controlled.
That can sometimes be achieved by removing the source, but it may also be possible to break the pathway or protect the receptor.
This is why remediation does not always mean removing every detectable trace of petroleum.
Establish the incident history
Once on site, the consultant will normally begin with a short interview with the property owner or others familiar with the incident.
Useful information includes:
- when the spill was discovered;
- when it may have started;
- estimated quantity lost;
- recent deliveries;
- tank levels;
- changes in fuel consumption;
- the suspected failure point;
- repairs or maintenance;
- odours or staining observed;
- actions already taken;
- whether drains or water have been affected; and
- whether neighbouring property may be involved.
This information helps reconstruct the incident and provides important background for reports that may later be required by insurers, regulators or other parties.
Measure and map the site
A detailed site plan should then be prepared.
Measurements can be used to show:
- the oil tank;
- heating-system pipework;
- the suspected release point;
- buildings and foundations;
- property boundaries;
- drains and inspection chambers;
- services;
- vegetation damage;
- visible staining;
- investigation locations;
- nearby water; and
- other sensitive receptors.
A scaled plan allows investigation results to be plotted accurately and helps build a three-dimensional understanding of the contamination.
Rapid field screening
One useful method for investigating petroleum spills is screening for volatile organic compounds, or VOCs.
At selected locations, shallow investigation holes can be formed through the upper soil.
Air within those holes may then be tested using a portable photoionisation detector, or PID.
A PID contains a small pump that draws air through the instrument. Volatile compounds within that air can produce a measurable response.
Where petroleum contamination is present, some of its more volatile components may enter the soil gas and produce an elevated reading.
By taking readings across the site, the consultant can quickly begin to identify areas where petroleum vapours are elevated.
This is useful because laboratory analysis takes time. Field screening allows decisions to be made and the investigation adjusted while the consultant is still on site.
A PID is a screening instrument
A PID does not directly measure the concentration of heating oil in soil.
Its response can be influenced by:
- the type of fuel;
- the age of the spill;
- weathering;
- temperature;
- soil moisture;
- soil type;
- the instrument used; and
- other volatile compounds present at the site.
For this reason, PID results should be used to guide the investigation, rather than treated as a substitute for laboratory analysis.
Investigate horizontally and vertically
A spill must be investigated in three dimensions.
Surface observations alone cannot show what is happening at depth.
A hand auger or similar equipment can be used to recover soil progressively from deeper levels.
Samples and field observations can then be taken at different depths and assessed for:
- soil type;
- staining;
- odour;
- moisture;
- geological changes;
- made ground; and
- PID response.
The aim is to understand both:
- the lateral spread of the contamination; and
- the vertical depth to which it has migrated.
Investigation should continue until sufficient evidence has been collected to define the problem or until the limitations of the equipment are reached.
Hand tools are very useful for shallow investigation, but they have limitations.
Cobbles, boulders, foundations, dense ground or greater depths may require:
- mechanical drilling;
- window sampling;
- boreholes;
- monitoring wells; or
- other specialist techniques.
A straightforward spill may be investigated within a few hours.
A complex site may require a full day, return visits or more substantial drilling equipment.
Field screening and laboratory analysis work together
Field screening provides rapid information.
Laboratory testing provides quantitative chemical evidence.
Representative soil samples should therefore be retained from selected locations and submitted to an appropriately accredited environmental laboratory.
The analytical suite should be selected according to:
- the fuel involved;
- the suspected exposure pathways;
- the receptors at risk; and
- the questions the investigation needs to answer.
Laboratory results can then be used alongside the field observations and conceptual site model to assess:
- human-health risk;
- groundwater risk;
- ecological risk;
- vapour risk;
- the extent of the contamination; and
- the likely remediation requirements.
There is no universal number of samples that proves a site has been adequately investigated.
A small number may be sufficient on a simple site, while a complex site may require considerably more.
The important question is whether the investigation has adequately defined the contamination and tested the conceptual site model.
Stage Three – Choose a proportionate remedial approach
There are many different remediation technologies available.
No single method is appropriate for every spill.
Options may include:
- excavation and disposal;
- excavation with treatment;
- oil recovery;
- soil-vapour extraction;
- groundwater recovery;
- groundwater treatment;
- containment;
- pathway interruption;
- in-situ treatment;
- biological treatment;
- monitored natural attenuation;
- vapour protection measures; or
- combinations of several techniques.
Some methods are suitable only for particular ground conditions, contaminants or site layouts.
The skill lies in selecting a method that is:
- technically appropriate;
- effective;
- proportionate;
- cost-effective;
- practical;
- capable of being verified; and
- suited to the needs of the property owner and other stakeholders.
In many cases, the best solution is a combined approach.
Sometimes excavation is the most practical solution
There is understandable interest in treating contamination in the ground without excavation.
In-situ treatment can reduce waste and physical disruption, but it is not automatically quicker or better.
Bioremediation, for example, uses microorganisms to break down petroleum compounds. It can be effective in suitable circumstances, but it may take a long time and its performance depends on factors such as:
- temperature;
- oxygen;
- nutrients;
- moisture;
- soil type; and
- contaminant composition.
Some in-situ technologies can therefore require prolonged monitoring and may provide less certainty over treatment boundaries than physical removal.
Where contaminated soil is accessible and can be excavated safely, removing the principal source may sometimes be the quickest and most predictable option.
The correct approach should follow the evidence rather than preference for any particular technology.
Remediation should be actively managed
A remediation project does not always behave exactly as predicted.
As work progresses, new information may emerge about:
- contamination depth;
- unexpected pathways;
- buried structures;
- groundwater;
- neighbouring property;
- building foundations; or
- underground services.
For this reason, the consultant should remain involved during the remediation works.
They may need to:
- inspect progress;
- review monitoring data;
- refine treatment settings;
- alter the excavation extent;
- adjust recovery systems;
- change monitoring locations; or
- modify the remediation strategy.
This is normal.
A remediation strategy should be technically controlled but flexible enough to respond to evidence.
Any significant changes should be documented and justified.
Stage Four – Verify and document the outcome
Completion cannot be demonstrated simply because:
- the excavation looks clean;
- there is no visible oil;
- the property smells better; or
- the contractor has finished working.
Remediation must be scientifically verified.
The validation or verification strategy should therefore be agreed at the beginning of the project and included within the remediation scope.
Validation after excavation
Where contaminated soil has been excavated, samples may be collected from:
- the base of the excavation;
- the excavation sidewalls;
- areas around foundations;
- service trenches;
- remaining soil; and
- other locations identified within the validation strategy.
Laboratory analysis can then establish whether the residual concentrations meet the agreed remedial criteria or whether further work is required.
Validation after in-situ remediation
Where contamination has been treated without excavation, different evidence may be required.
This might include:
- soil sampling;
- groundwater monitoring;
- soil-gas measurements;
- vapour monitoring;
- recovery volumes;
- treatment-system data; and
- repeated monitoring over time.
The validation evidence should relate directly to the source-pathway-receptor linkages that the remediation was intended to address.
The validation report
At the end of the project, the consultant should prepare a formal validation or verification report.
This should describe:
- the original spill;
- the investigation;
- the conceptual site model;
- the identified risks;
- the remediation objectives;
- the work undertaken;
- changes made during the project;
- validation sampling;
- laboratory results;
- monitoring results;
- waste or treatment records;
- any contamination remaining in place;
- any continuing monitoring or controls; and
- the evidence supporting project completion.
This report is a critical document.
It provides the scientific record showing what was done, why it was done and why the consultant considers the remediation objectives to have been achieved.
For the property owner, it can later become important when dealing with:
- insurers;
- regulators;
- solicitors;
- prospective purchasers;
- lenders; or
- other environmental professionals.
There is little value in carrying out a substantial remediation project if the property owner is not given the evidence necessary to demonstrate what was achieved.
Professional judgement
Investigation and remediation should be viewed as one continuous process.
The investigation defines the problem.
The risk assessment establishes what matters.
The remediation addresses the unacceptable linkages.
The validation proves whether the objectives were achieved.
One of the most common mistakes is beginning remediation before the site is adequately understood.
The opposite mistake is carrying out a detailed investigation and then selecting a remediation technique simply because it is familiar.
A competent consultant should understand the range of available options, select the most appropriate approach for the particular site and be able to justify that decision in writing.
The final objective is not absolute proof that every molecule of petroleum has disappeared.
It is to demonstrate that the identified unacceptable risks have been removed, reduced or controlled to an appropriate level, and to document clearly any residual contamination, monitoring or controls that remain.
A spill is happening now?
Prioritise safety.
Stop the source only if it is safe to do so, prevent further spread where practicable, protect drains and watercourses, and obtain appropriate professional assistance where the incident is continuing.
Read next
- How heating oil behaves in soil
- Understanding oil-spill sampling, laboratory results and monitoring
- Environmental effects of a domestic heating-oil spill
- Oil-spill terms explained in plain English
EDITORIAL INFORMATION
About this guide
Author: Spill-Response Editorial Team
Jurisdiction: Northern Ireland launch version. General technical explanations may also be relevant elsewhere, but reporting duties, official contacts and legal requirements must be checked for the applicable jurisdiction.
Last reviewed: 21 September 2026
Key sources consulted: Environment Agency – Land contamination risk management: before you start; Environment Agency – LCRM Stage 1: risk assessment; Environment Agency – LCRM Stage 2: options appraisal; and Environment Agency – LCRM Stage 3: remediation and verification.
Review status: Final technical and source review completed for the Northern Ireland launch version.
Limitations: This guide provides general information and is not a substitute for site-specific environmental, legal, insurance or emergency advice.